A Comprehensive Guide: Drying Plastic for 3D Printing Success with Any Material
In the realm of 3D printing and filament extruding, ensuring that your input plastic is dry is crucial for achieving optimal results, regardless of the plastic material being used. Many thermoplastics are “hygroscopic”, meaning they will absorb moisture from the air and hold it in their structures. Wet plastic often causes issues when the plastic is melted. Moisture doesn’t cause permanent damage to the plastic, however, and drying the filament before use will evaporate any excess wetness. Read on to learn how to obtain top-quality prints or filament with our step-by-step guide.
Step 1: Gather the necessary materials
You’ll need to gather the following items:
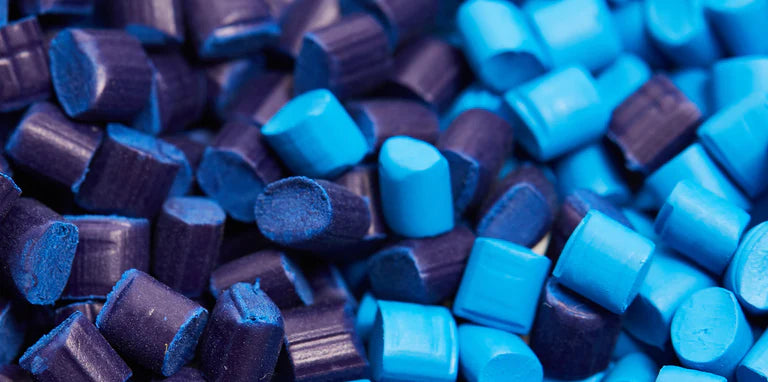
- Plastic to be dried (spools or standard/recycled nurdles)
- Airtight storage container or vacuum-sealed bag
- Desiccant packs or silica gel
- Oven or food dehydrator
- Oven thermometer (if using an oven)
- Timer
Step 2: Assess the raw plastic’s condition
Before the drying process, check over the raw plastic for any visible signs of moisture absorption, such as discoloration or bubbling. If the plastic appears unaffected, a brief drying period may be adequate. However, if the plastic has been exposed to moisture for an extended period, a longer drying time might be necessary.
Step 3: Prepare the storage container
Select an airtight storage container or vacuum-sealed bag that is spacious enough to accommodate your dried plastic. Ensure the container is clean and free from moisture. If using a vacuum-sealed bag, ensure it is in good condition.
Step 4: Add desiccant packs or silica gel
Desiccant packs or silica gel are excellent moisture-absorbing agents. Place a few packs or a generous amount of silica gel into the storage container or vacuum-sealed bag. The desiccant will help prevent reabsorption afterward.
Step 5: Prepare the drying environment
Thoroughly read the manufacturer’s datasheet of the specific plastic you intend to dry for information on drying temperature and duration. This information varies for every brand and type of plastic. If your plastic is a recycled regrind of an unknown source, it is best to estimate the drying conditions based on a reputable manufacturer’s datasheet for your type of plastic. Ensure you have a reliable oven thermometer to monitor the temperature accurately.
Step 6: Load the plastic filament into the drying environment
Place the wet plastic inside the oven or food dehydrator on a tray that is able to withstand the heat of the drying process.
Step 7: Initiate the drying process
Set the timer on your oven or food dehydrator according to the specific requirements of your plastic. As a general guideline, allocate several hours for thorough drying. The goal of the drying process is to heat the plastic to a point where much of the moisture will evaporate, while always remaining below its glass transition temperature. We want a hot environment that will coax out moisture over a few hours, not create a congealed mass of softened plastic.
Step 8: Monitor the drying progress
During the drying process, periodically inspect the plastic for any visible improvement. If it remains visibly damp or exhibits signs of moisture, extend the drying time accordingly.
Step 9: Store the plastic
Place the dry plastic inside the airtight container or vacuum-sealed bag on top of the desiccant packs or silica gel. Ensure the container is sealed tightly, leaving no room for air or moisture to enter. Don’t have a vacuum-sealed bag or multiple airtight containers, but have multiple types of plastic to store? Storing plastic in resealable bags and putting them in one dry box lets you keep your plastic dry and separated.
Armed with dry plastic, you'll enjoy smoother and more successful 3D printing and filament extruding experiences across the board. Happy printing!